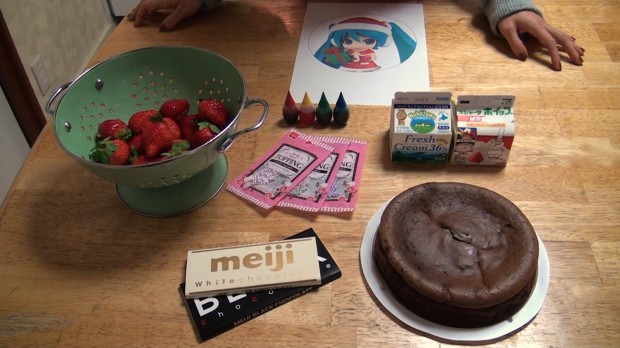
Ingredients:
- Your favorite cake as base
- Dairy & non-dairy whipping cream
- Dark & white chocolate
- Metallic dragées for decorating
- Food Coloring: Blue, Green, Yellow, Red
- Strawberries
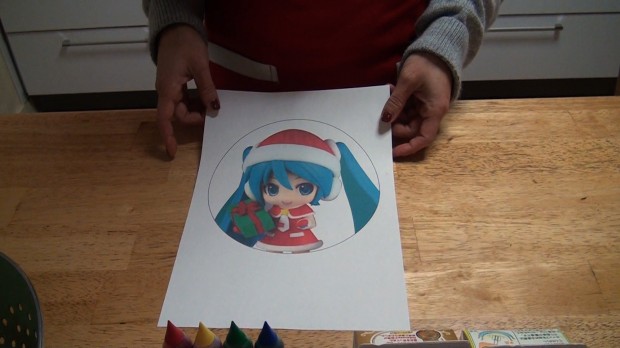
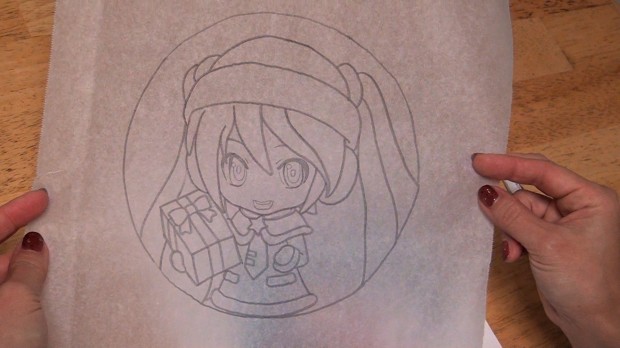
- Picture of Hatsune Miku
On kitchen paper, trace the image of Miku with a sharpie.
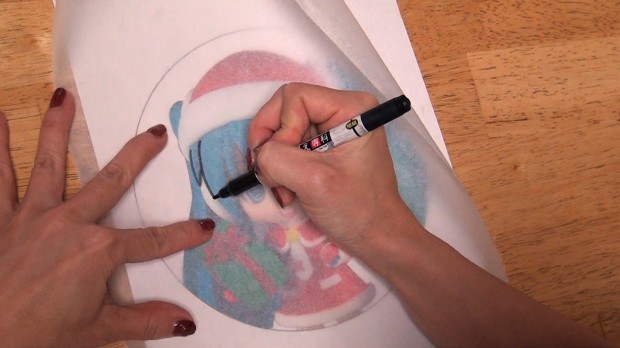
Place the traced image of Miku on a flat surface and tape it down so it
doesn’t move. Ideally, you want the image to be inverted so make sure
you’re working on the paper side and not the flat surface side!
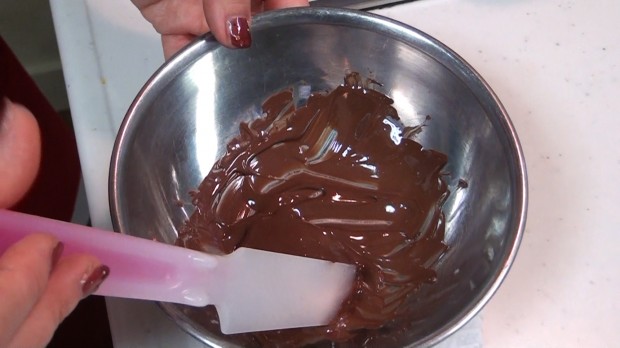
Break the chocolate into pieces and melt them.
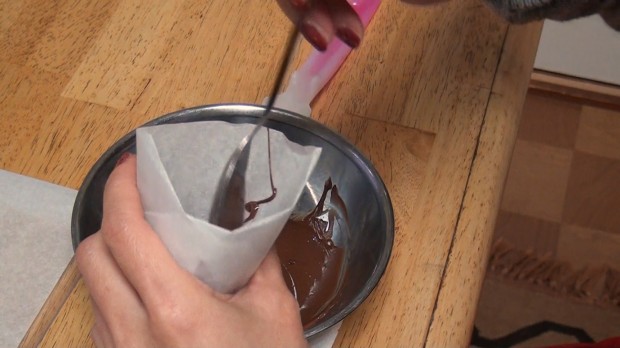
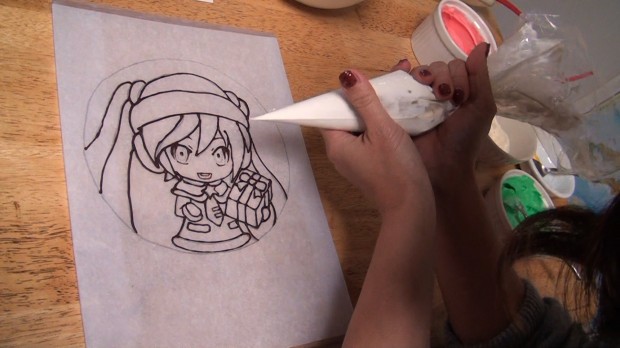
Make a decorating pen with kitchen paper and scoop in the melted chocolate.
And with it, trace all the lines.
For the finer details such as the thin lines, use a tooth pick.
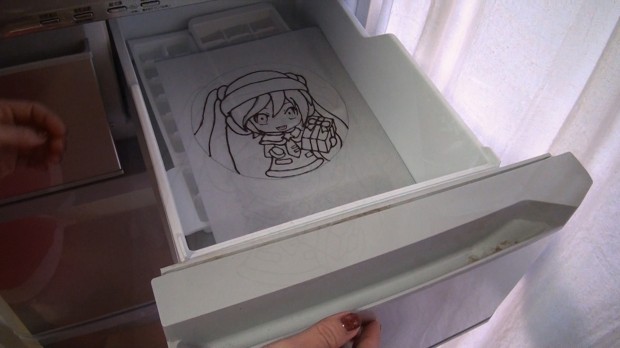
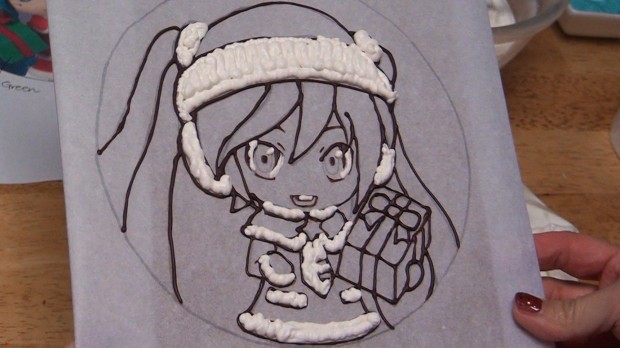
The finished chocolate tracing should look like this! Cute, right?
Place it in the freezer while you go work on coloring the whip cream.
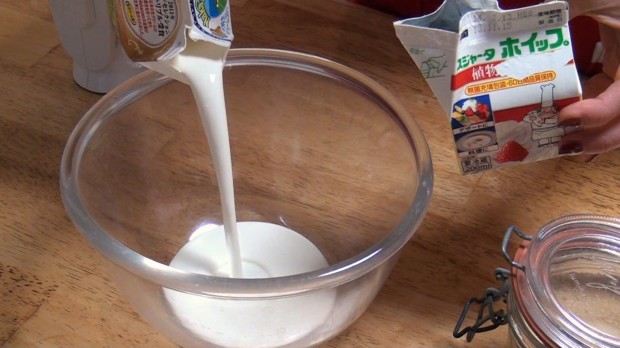
Pour in two 200mL of Dairy and Non-dairy whipping cream into a bowl.
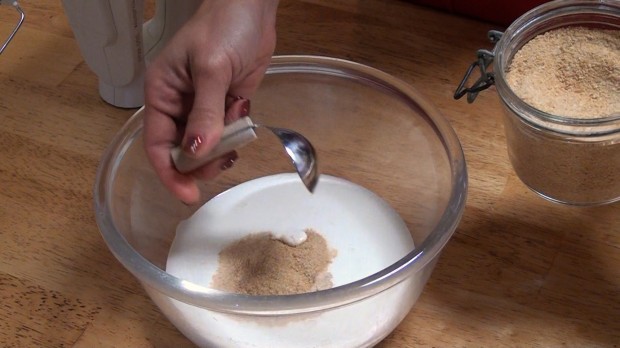
Add sugar. It’s usually about 10-20 grams of sugar for 200 ml of cream, but you can add as much as you’d like to.
Whisk the cream and it should end up nice and firm.
Get your food coloring ready because we’re going to science this! With
the essential Red, Yellow, Blue, & Green, we can pretty much make
any other colors.
Determine the colors you need to make.
- Beige: Mix yellow with a tiny bit of red.
- Blu-ish Green: Mix Blue and Green together.
- Pink: Mix already made Red whipped cream with white whipped cream and it should lighten it to pink.
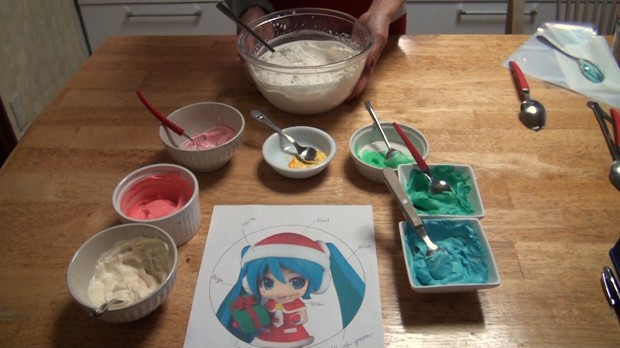
Here are the 8 colors necessary to make our Miku image. Again, the colors you need will depend on the picture you use.
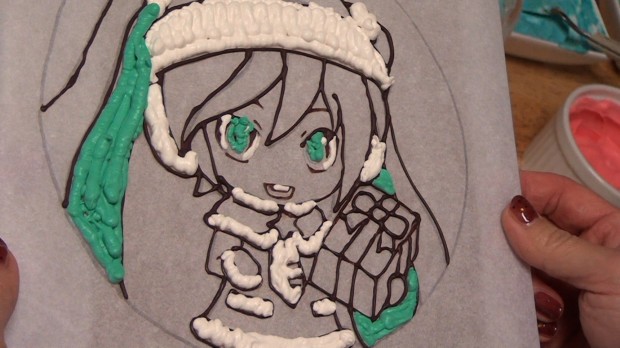
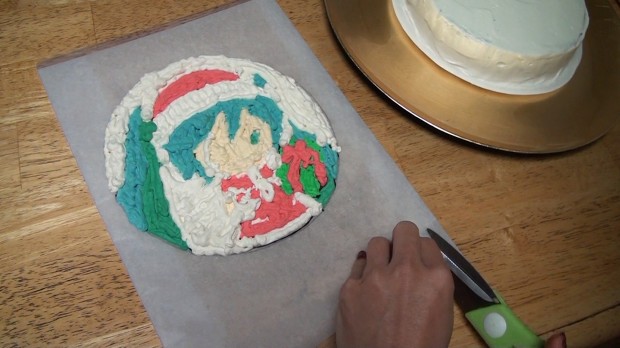
Begin to apply the white whipped cream on the areas that are white.
After you apply each color, put it in the freezer until it sets before
applying the next one. This is a bit tedious so you’re going to need
some patience.
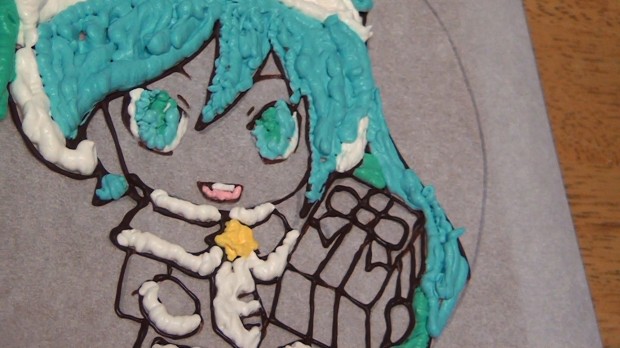
Don’t worry if the colors overlap each other. Remember, your image is
inverted. Once you revert it, it will look fine. You will see.
Again, don’t worry about overlapping the colors.
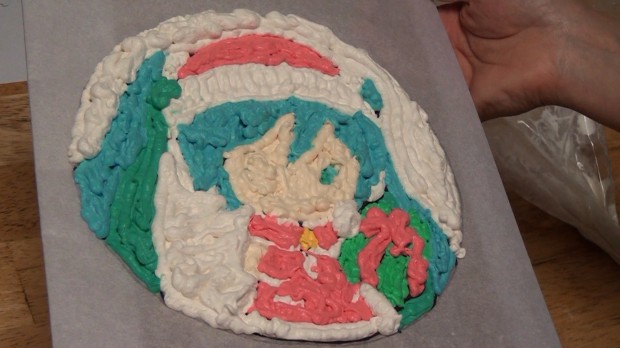
It is up to you if you want to fill the background. For our cake, we decided to add a white background.
Finally place it in the freezer one more time until it sets.
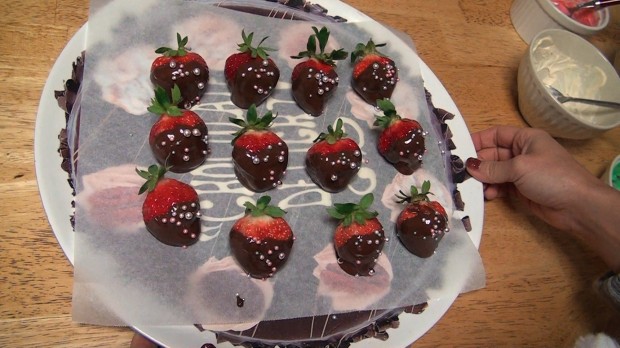
While you wait until whipped cream sets, make chocolate covered
strawberries. Melt chocolates and dip the fresh strawberries in them.
Decorate it with the metallic dragées. It should look like the above.
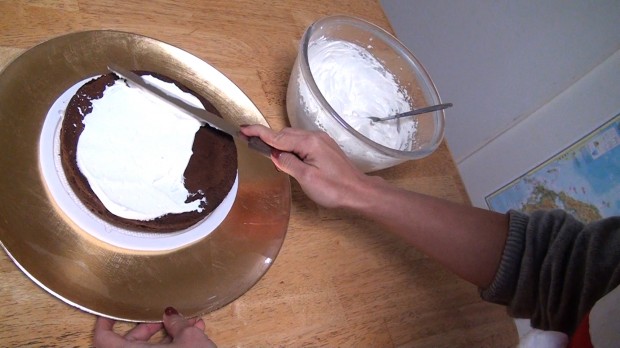
Frost your cake with whipped cream.
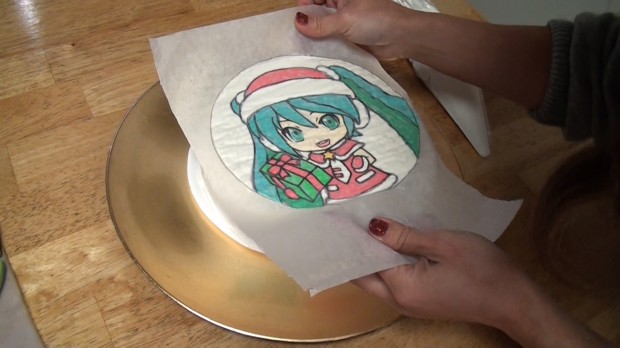
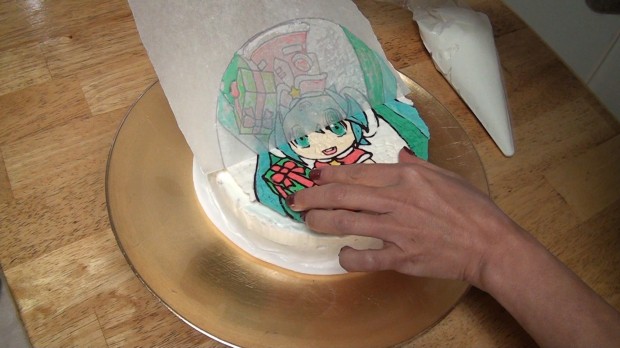
Once the whipped cream of Miku is ready, take it off the flat surface and place it on top of your cake.
Miku! So cute! See? Told you not to worry!
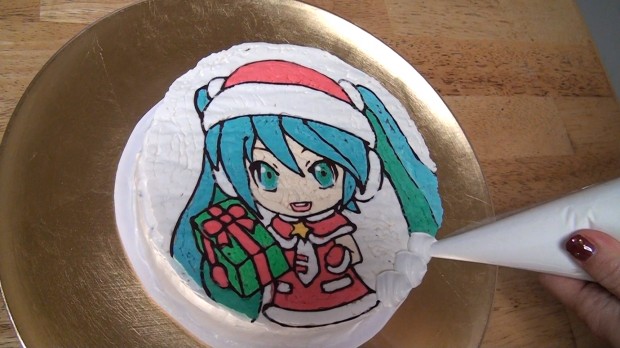
Now peel the kitchen paper off carefully.
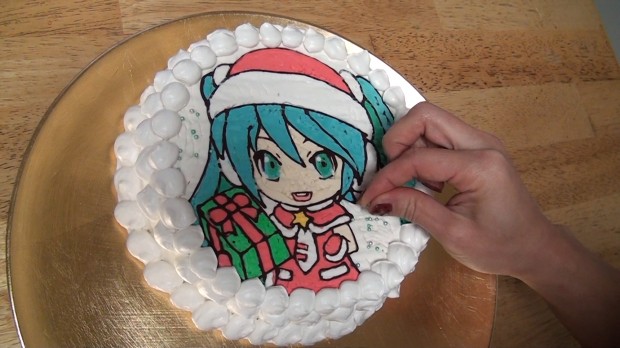
Finish decorating the cake however you want.
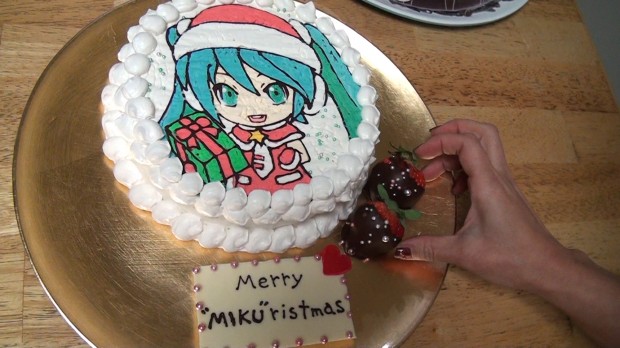
We made a tag with white chocolate, dark chocolate, and metallic dragées
that says “Merry Mikuristmas!” Yours can say whatever you’d like!
Place chocolate covered strawberries all around the cake!
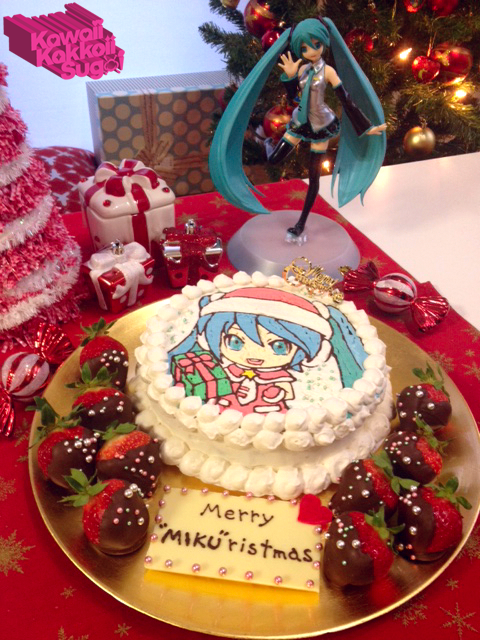
And now we’re done! Miku’s so adorable, right? Hope you guys try this
out! Or if you have a friend who’s into decorative food arts, tell them
to make you one. It’s seriously 10x yummier with Miku on it!
How-To Video:
Hatsune Miku Christmas Cake! Recipe by Kawaii Kakkoii Sugoi
More Info :
Hatsune Miku Christmas Cake! Recipe by Kawaii Kakkoii Sugoi


Tidak ada komentar:
Posting Komentar